If you want a vase with a ceramic look on a budget, this DIY is for you! All you need is a vase (use something you already own or check your local thrift store), paint and paintbrush, and baking soda. You might even have these materials at home already.
This technique of combining baking soda and paint has been all over the internet and for good reason – it is a great way to transform inexpensive pieces and get a designer look for much less! It also happens to be a quick and easy project. You can do this on your own on a rainy day while listening to your favourite podcast or you can find multiple small vases and do this as a group activity with family or friends.
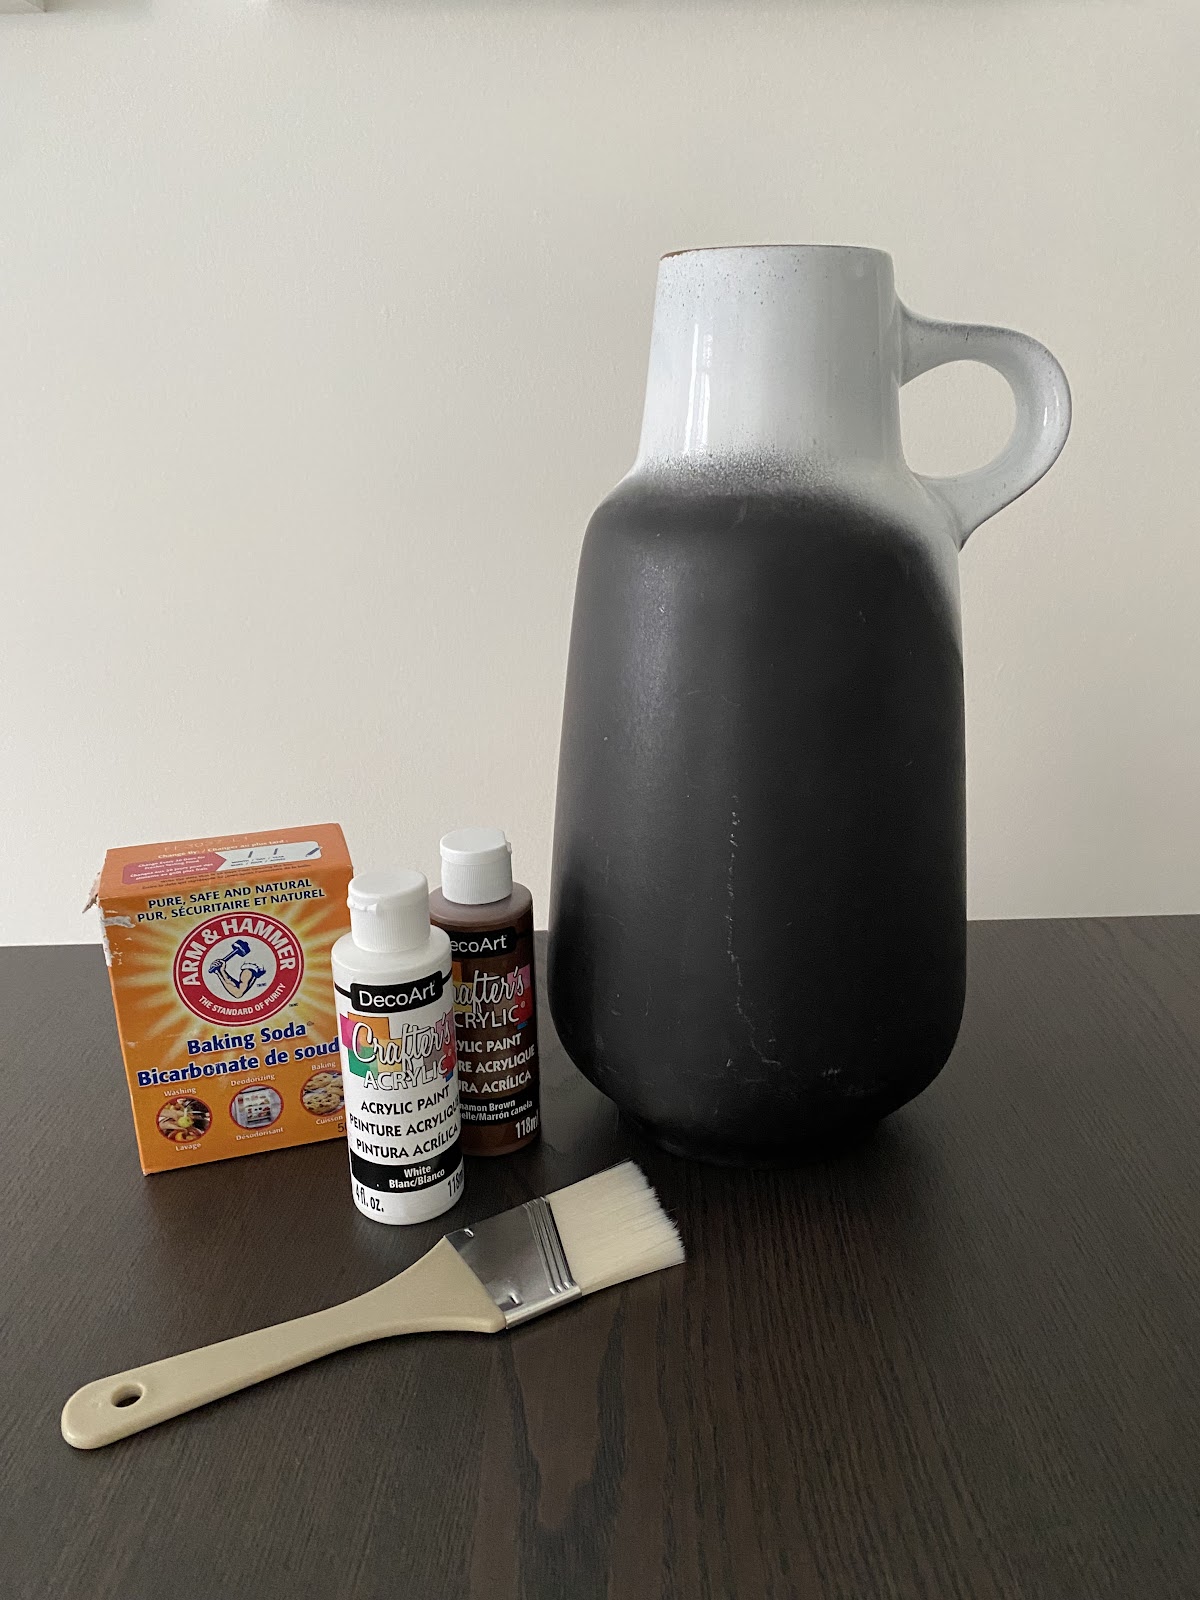
Step 1: Gather your materials
- Vase: The vase shown below was thrifted for $8. The top portion was glazed and the bottom was painted. This technique works on a variety of materials, even glass!
- Paint: I used a mixture of white, brown and black acrylic paint from the dollar store.
- Paintbrush: Keep the size of your vase in mind when choosing a paintbrush. If you choose a larger brush, it will go faster! I found this one at the dollar store.
- Baking soda
- Tray for mixing (I used a washed takeout container)
Step 2: Clean your vase and let it dry
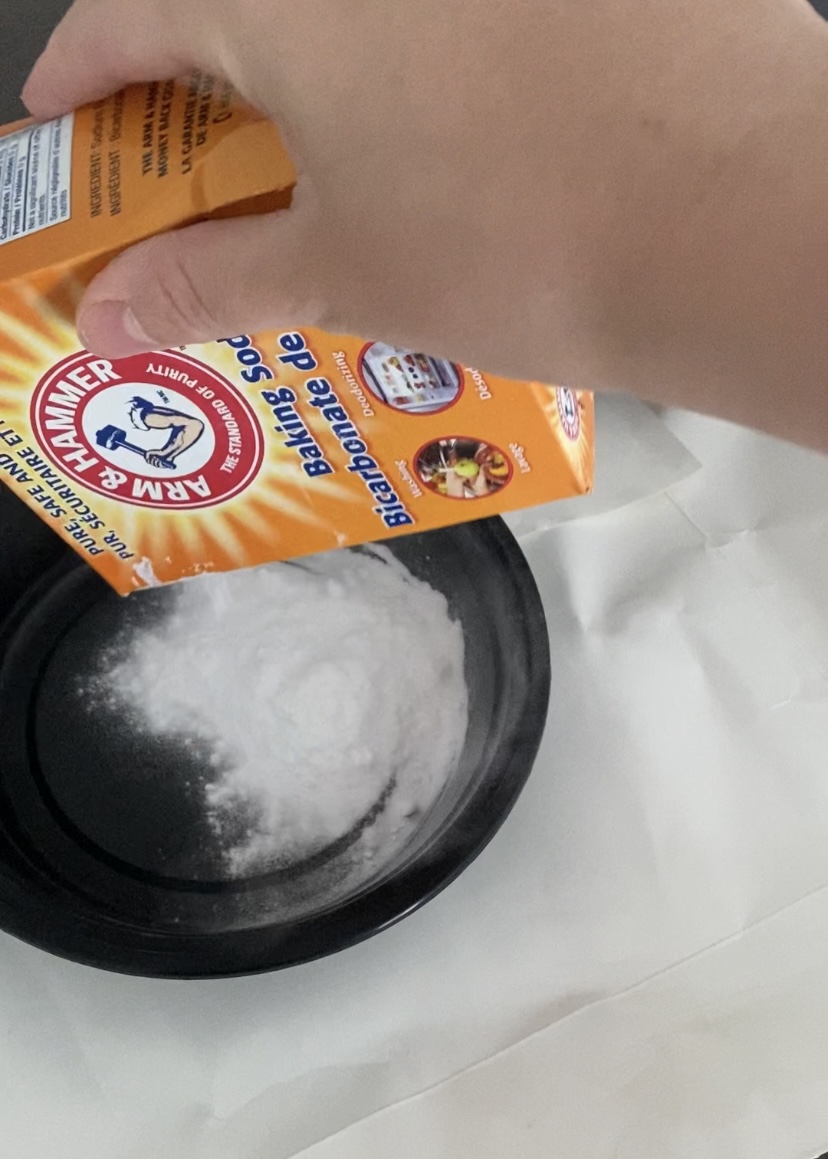
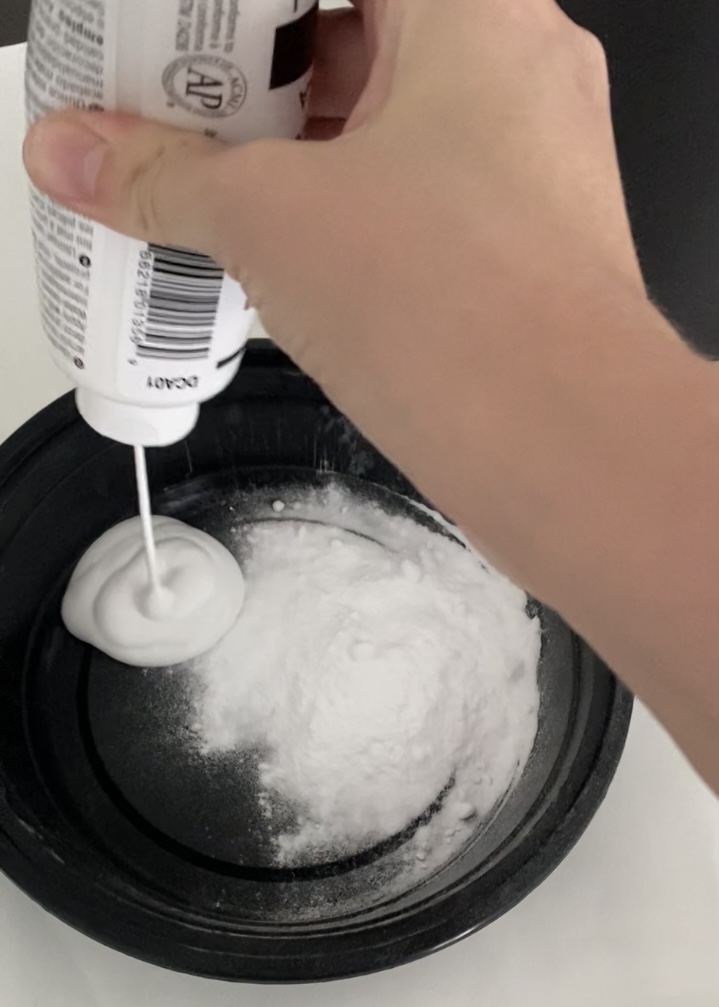
Step 3: Mix the paint and baking soda
After reviewing multiple options online, I used about 2 parts paint to 1 part baking soda (for example 1 cup of paint and 1/2 cup of baking soda). This was eyeballed rather than measured and I suggest adjusting the proportions as you go to achieve the texture you want. Increasing the baking soda will create a more textured and rustic look.
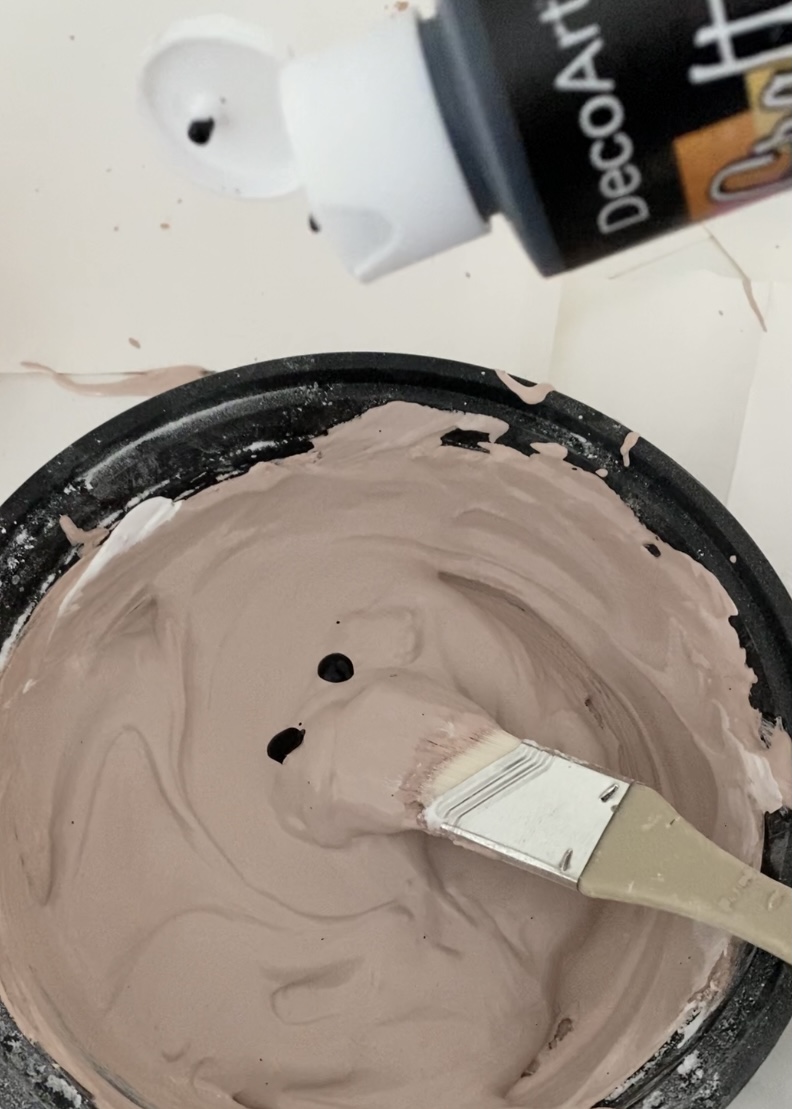
This colour was approximately 2 parts white paint to 1 part brown paint with a couple drops of black paint. Originally only white and brown were used but it was not the colour I was going for. Remember to continue experimenting (only adding a small amount of each colour at a time) until you find a shade you love!
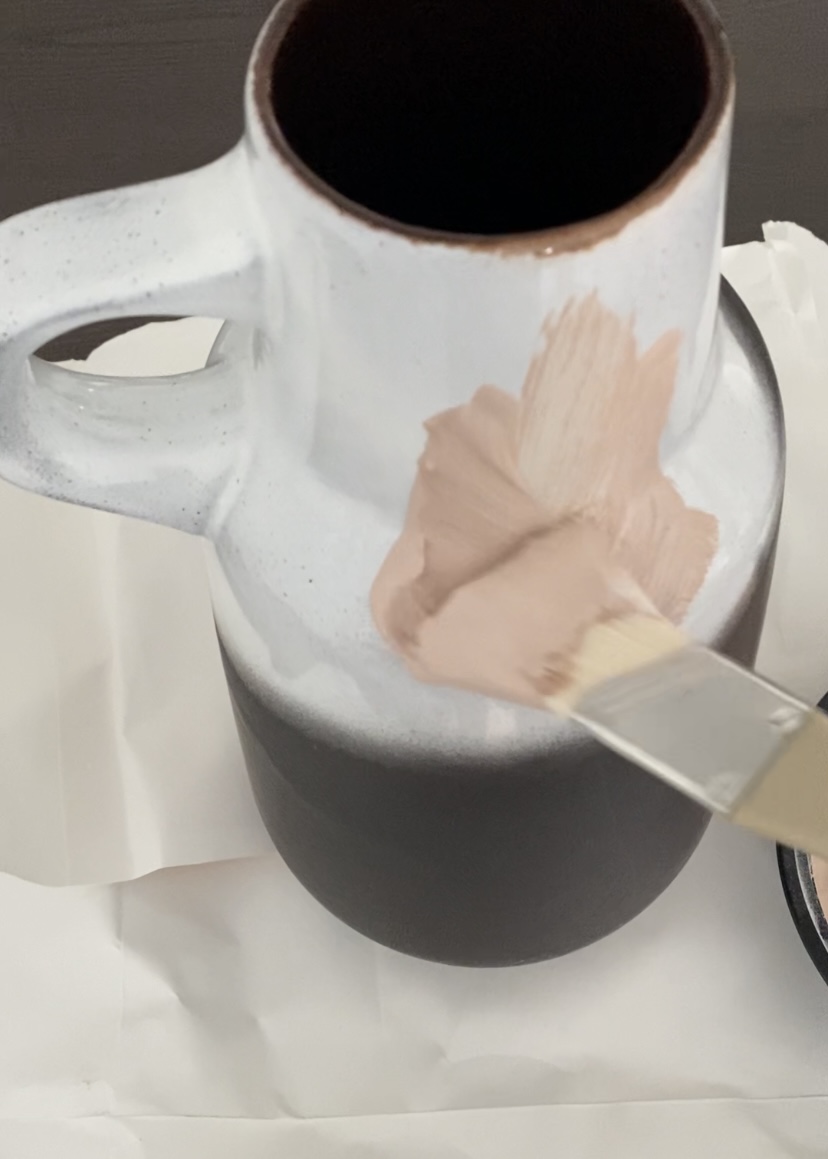
Step 3: First coat
Now it’s time to start painting! Apply a thin layer of the baking soda and paint mixture to your vase. Thin layers will dry more quickly. Wait for it to dry completely before moving to your second coat. This will prevent you from lifting the first coat off when applying the second coat.
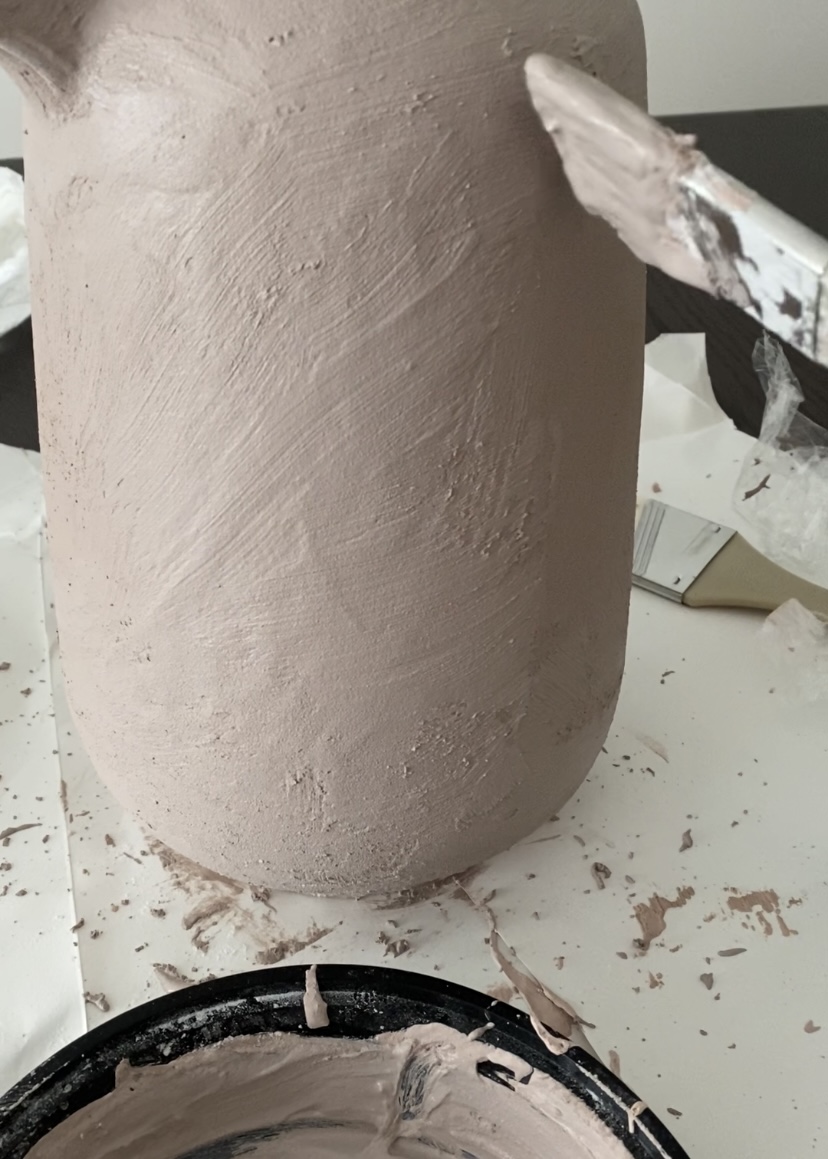
Step 4: Second coat
Once the first coat is completely dry, it’s time for your second coat. In my case, this was the final coat but you can certainly add a third if needed. If you are working with glass or a glazed finish, when you apply the second coat you might lift small patches of the first coat if it wasn’t completely dry. If this happens, add a bit more baking soda to your mixture. This helps it act as a paste to patch up the hole.
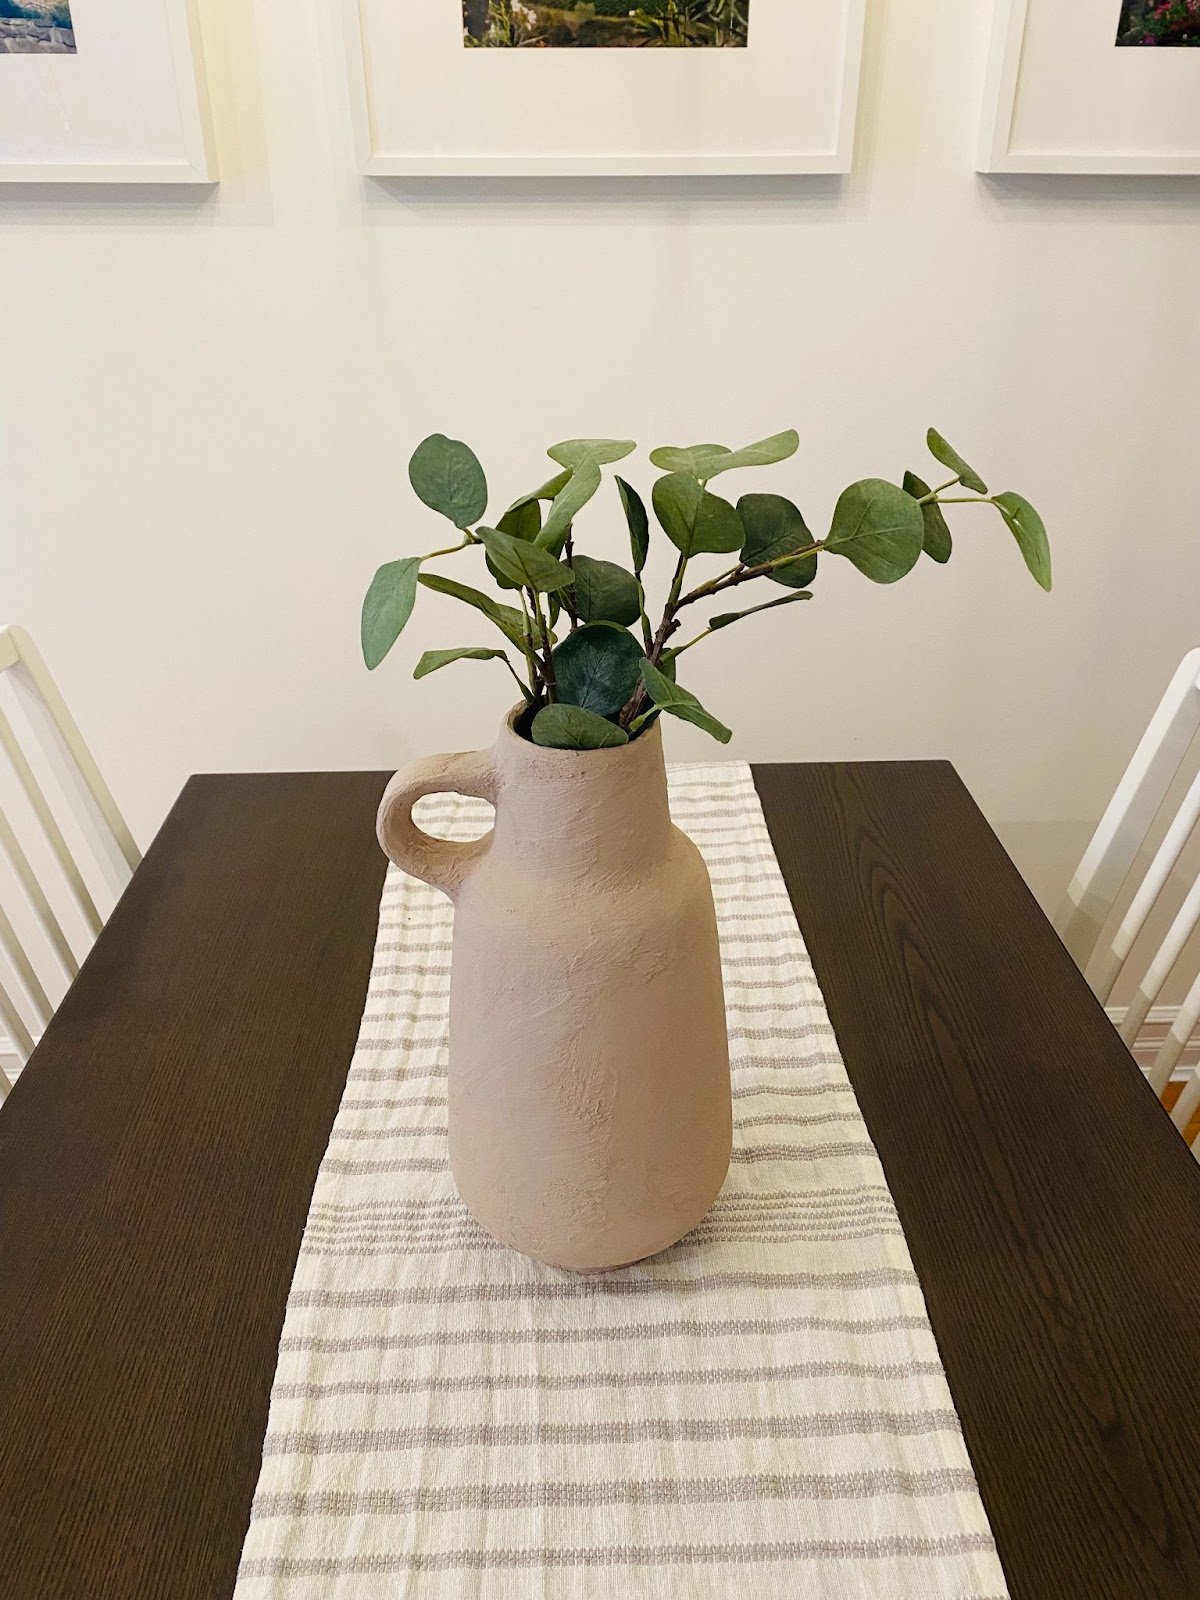
Step 5: Finishing Touches
Let the paint dry, add some greenery or florals (I used this $7.99 artificial eucalyptus from IKEA) and enjoy your new and improved vase!
What is your favourite DIY that you have tried? Let us know in the comments!
Follow the Lownen Home Instagram so you don’t miss an upcoming reel about the process.

If you enjoyed this post and want to see more content like this, please let us know in the comments below and join the Lownen Home email list so you never miss a post.

2 responses to “DIY Thrifted Vase Makeover”
Great idea to make something old new again and look stylish on a budget. The vase looks so nice!
LikeLike
Thank you Lisa!
LikeLike